[HTML] 24 Powerful HTML Attributes Every Senior Web Engineer Should Master!
24 Powerful HTML Attributes Every Senior Web Engineer Should Master!
There are many HTML attributes, in addition to some basic attributes, there are many useful and particularly powerful attributes;
javascript.plainenglish.io

There are many HTML attributes, in addition to some basic attributes, there are many useful and particularly powerful attributes;
This article will introduce 24 powerful HTML attributes that can make your website more dynamic and interactive, and make users feel more comfortable and happy.
Let’s explore these 24 powerful HTML attributes together!
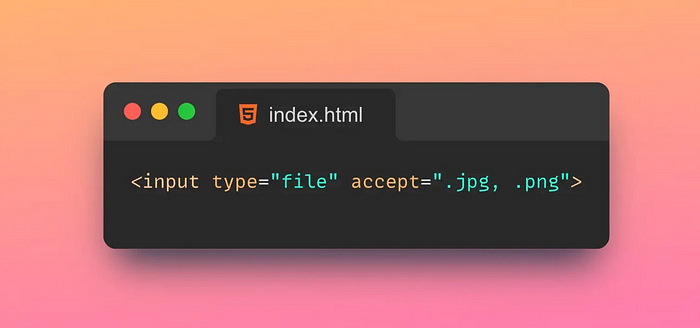
1. Accept
The Accept attribute is used to specify a list of MIME types that the browser can handle.
Tips:
A MIME type is a standard for identifying the type of document,
For example, text/html represents an HTML document, image/jpeg represents a JPEG image, and so on.
By including the Accept attribute in the HTTP request header, the browser can tell the server which MIME types it can accept in response. Based on this information, the server can choose the most appropriate response type and return it to the browser. The value of the Accept attribute is a comma-separated list of MIME types, wildcards can be used to represent a class of MIME types, for example text/* represents all text types.
2. Autofocus
The Autofocus property is used to automatically set the focus to the specified element when the page loads.

Tips:
Autofocus attributes can be applied to various HTML elements such as text boxes, buttons, drop-down lists, and more.
In HTML5, the Autofocus attribute can omit the attribute value, indicating that the focus is set to the first element with the Autofocus attribute.
When the page is loaded, if there is an element with the Autofocus attribute, the browser will automatically focus the cursor on the element, so that the user can directly interact with the element without manually clicking or using the Tab key to switch focus.
3. Input mode
The Inputmode attribute is an attribute for specifying the type of content entered in the text box.
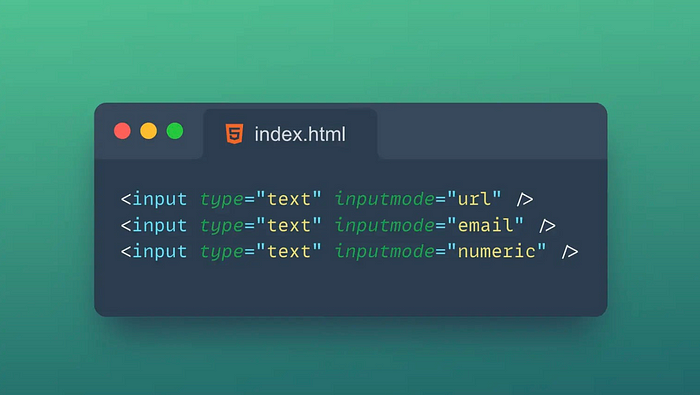
It can help the browser to better optimize the input experience, such as automatically popping up the appropriate virtual keyboard on mobile devices.
- text: The default value, which means input any text.
- none: indicates that no input is required.
- tel: Indicates to enter a telephone number.
- url: Indicates the input URL address.
- email: Indicates to enter an email address.
- numeric: Indicates the input number.
- decimal: Indicates inputting a number with a decimal point.
- search: Indicates to enter a search keyword.
The level of support for the Inputmode attribute may vary in different browsers.
Therefore, compatibility testing is required when using the Inputmode property.
4. Pattern
The Pattern attribute is a regular expression pattern used to specify the input content in the text box. It can help the browser to verify whether the content entered by the user conforms to the specified format requirements.

If the content entered by the user does not conform to the regular expression pattern specified by the Pattern attribute, the browser will display a default error message.
Tips:
- The value of the Pattern attribute must be a valid regular expression.
- The Pattern property can only be applied to elements that can enter text, such as text boxes, text fields, and password boxes.
- The Pattern attribute will not prevent users from entering illegal characters, but will verify that the input content meets the specified format requirements when submitting the form.
- The error message of the Pattern attribute can be customized using the title attribute.
The Pattern attribute is usually used together with the required attribute to ensure that the content entered by the user conforms to the specified format requirements and is not empty. For example, you can use the Pattern property to validate user input for zip codes, phone numbers, email addresses, and so on.
5. Required
The Required attribute is an attribute used to specify whether a form element is required.
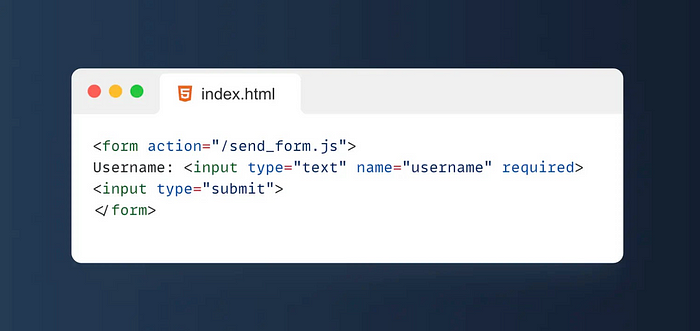
If a form element has the Required attribute set, then when the form is submitted, if the value of the element is empty, the browser will prevent the form from being submitted and prompt the user to fill in the field.
Tips:
- The Required attribute can only be applied to form elements, not to other HTML elements.
- The Required attribute does not verify whether the content entered by the user meets the specified format requirements, only whether the element is empty.
- The Required attribute does not prevent users from submitting spaces or whitespace characters, so some other means of validating user input is required.
- The Required attribute can be used together with the Pattern attribute to verify that the user-entered content conforms to the specified format requirements.
- The Required attribute can be used in conjunction with the Autofocus attribute to ensure that when the user enters the form page, the focus is automatically on the required field.
The Required attribute is often used with the type attribute of form elements, such as text boxes, drop-down lists, radio boxes, check boxes, and so on.
6. Autocomplete
The Autocomplete attribute is an attribute used to specify whether the form element has auto-complete enabled.
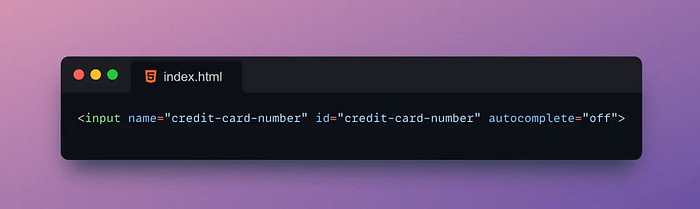
Autocomplete helps users fill out forms faster and reduces the chance of typing errors.
Tips:
- on: The default value, which means that the auto-completion function is enabled.
- off: Indicates that the auto-completion function is disabled.
- name: Indicates that the name attribute of the form element is used as the keyword for automatic completion.
- email: Indicates to use the most recent email address entered by the user as the autocomplete keyword.
- username: Indicates that the user name recently entered by the user is used as the keyword for auto-completion.
- current-password: Indicates that the password recently entered by the user is used as the keyword for auto-complete.
- new-password: Indicates that the new password recently entered by the user is used as the keyword for auto-complete.
- tel: Indicates to use the last phone number entered by the user as the keyword for autocomplete.
- address-level1: Indicates that the country or region name recently entered by the user is used as the keyword for auto-completion.
- address-level2: Indicates that the province or state name recently entered by the user is used as the keyword for auto-completion.
- address-level3: Indicates that the city or region name recently entered by the user is used as the keyword for auto-completion.
- address-level4: Indicates that the most recent street name entered by the user is used as the keyword for auto-completion.
- country: Indicates that the country name recently entered by the user is used as the keyword for auto-complete.
The degree of support for the Autocomplete attribute may vary in different browsers. Therefore, compatibility testing is required when using the Autocomplete property.
7. Multiple
The Multiple attribute is an attribute used to specify whether a form element allows multiple selections.
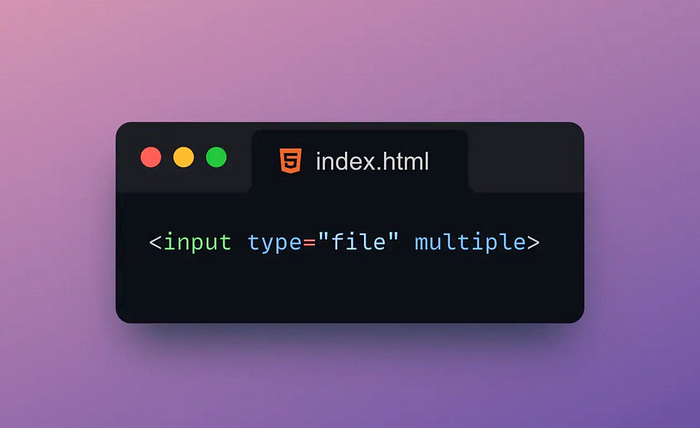
The Multiple attribute is typically applied to form elements such as dropdown lists, file uploads, and checkboxes.
Tips:
- The Multiple attribute can only be applied to form elements such as drop-down lists, file uploads, and check boxes, and cannot be applied to form elements such as radio boxes and text boxes.
- The value of the Multiple property must be a Boolean value, true or false.
- The default value of the Multiple attribute is false, which means that multiple selections are not allowed.
- When the value of the Multiple attribute is true, the drop-down list will be displayed as a multi-selectable list box, the check box will be displayed as a multi-selectable check box list, and the file upload will allow the user to select multiple files.
- When using the Multiple attribute, it is necessary to process the multi-selected values in the background program, for example, use an array to store the multi-selected values.
If a form element has the Multiple attribute set, the user can select multiple options, not just a single one.
8. Download
The Download attribute is an attribute for specifying a file name when a link downloads a file.
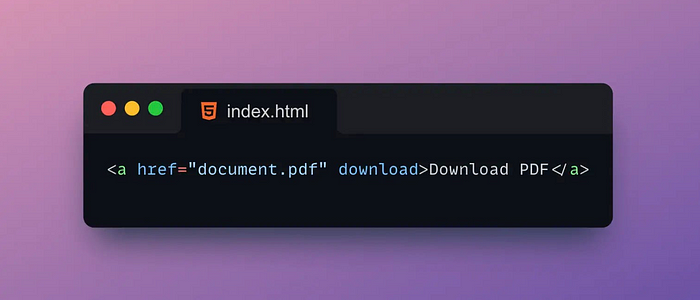
If a link is set with the Download attribute, then when the user clicks the link to download the file, the browser will save the file locally and use the file name specified by the Download attribute to name the file.
Tips:
- The value of the Download attribute can be any string, which represents the file name used when downloading the file.
- The Download attribute can only be applied to tags, not to other HTML elements.
- The Download attribute doesn’t change the actual name of the file, it just uses the specified filename when downloading.
- The value of the Download attribute can be dynamically generated, for example using JavaScript to generate the filename.
- When using the Download attribute, you need to ensure that the downloaded file is legal and does not violate the copyright and privacy of others.
The Download attribute is usually used in tags to download PDF, image, audio, video and other files.
9. Content editable
The Contenteditable attribute in HTML is an attribute used to specify whether an element is editable.

Tips:
- The value of the Contenteditable attribute can be true, false or inherit.
- The default value of the Contenteditable property is false, indicating that the element is not editable.
- When the value of the Contenteditable property is true, the element is editable.
- When the value of the Contenteditable attribute is inherit, the editability of the element is inherited from the parent element.
- The Contenteditable attribute does not change the default behavior of the element, eg tags can still jump to other pages.
- When using the Contenteditable attribute, you need to pay attention to security issues to avoid XSS attacks and malicious script injection.
If an element sets the Contenteditable attribute, then the user can enter text, insert pictures, modify styles, etc. in the element. The Contenteditable attribute is usually applied to, and other elements are used to implement functions such as rich text editors and editable tables.
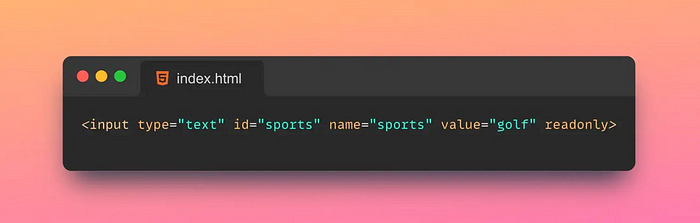
10. Readonly
The Readonly attribute in HTML is an attribute used to specify whether a form element is read-only.
Tips:
- The value of the Readonly attribute must be a Boolean value, true or false.
- The default value of the Readonly attribute is false, indicating that the form element is editable.
- When the value of the Readonly attribute is true, the form element is read-only.
- The Readonly attribute does not prevent users from modifying the value of form elements via JavaScript.
- The Readonly attribute is different from the Disabled attribute, which disables the form element so that it cannot submit data.
- When using the Readonly attribute, it is necessary to process the read-only value in the background program, such as using a hidden field to store the read-only value.
If a form element has the Readonly attribute set, the user can see the value of the element, but cannot modify the value of the element. The Readonly attribute is usually applied to form elements such as text boxes, drop-down lists, and date pickers to display data or prevent users from modifying data.
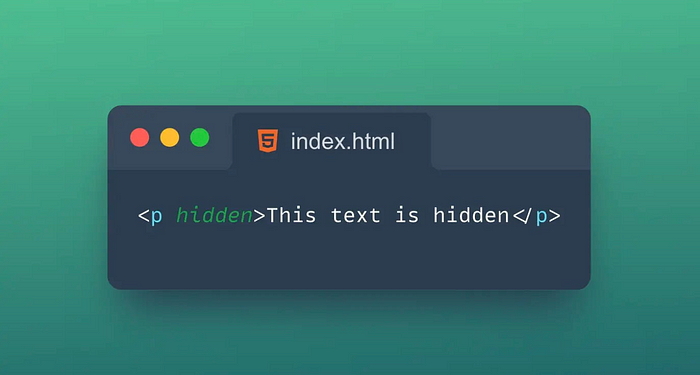
11. Hidden
The Hidden attribute is an attribute used to specify whether an element is hidden.
Tips:
- The value of the Hidden property must be a Boolean value, either true or false.
- The default value of the Hidden property is false, indicating that the element is not hidden.
- When the value of the Hidden property is true, the element is hidden.
- The Hidden attribute is different from the display:none attribute of CSS. The display:none attribute will completely remove the element from the page, and the element cannot be accessed through JavaScript or other methods.
- When using the Hidden attribute, the hidden value needs to be processed in the background program, such as using a hidden field to store the hidden value.
If an element has the Hidden attribute set, the element will not be displayed on the page, but it still exists on the page and can be accessed through JavaScript, etc. The Hidden attribute is usually applied to elements such as form elements, buttons, images, etc., to pass data or control page behavior without affecting the page layout.
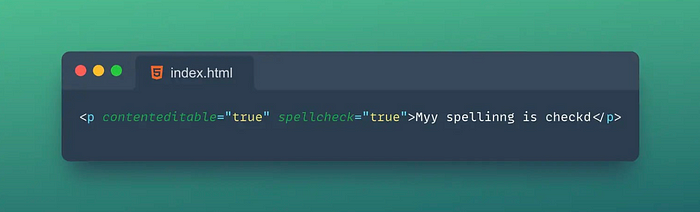
12. Spellcheck
The Spellcheck attribute in HTML is an attribute used to specify whether to enable spell checking for an element.
Tips:
- The value of the Spellcheck property must be a Boolean value, true or false.
- The default value of the Spellcheck attribute is false, indicating that the element does not enable spell checking.
- When the value of the Spellcheck attribute is true, the element enables spell checking.
- The extent of support for the Spellcheck attribute varies by browser, and different browsers may have different spellcheck algorithms and dictionaries.
- When using the Spellcheck attribute, you need to pay attention to security issues to avoid XSS attacks and malicious script injection.
If an element sets the Spellcheck attribute, then when the user enters text in the element, the browser will automatically check for spelling errors and display a red wavy line under the incorrect word. The Spellcheck attribute is usually applied to elements such as text boxes and text fields to improve the accuracy of user input.
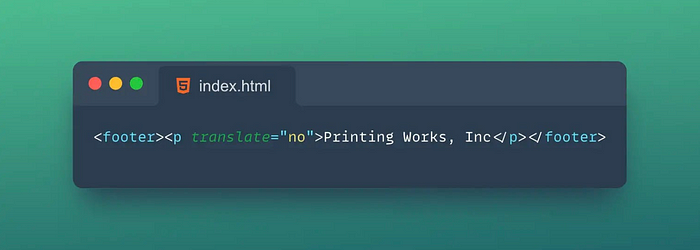
13. Translate
The Translate attribute in HTML is an attribute used to specify whether an element should be translated.
Tips:
- The value of the Translate attribute must be a Boolean value, yes or no.
- The default value of the Translate property is yes, indicating that the element needs to be translated.
- When the value of the Translate attribute is no, the element does not require translation.
- The degree of support for the Translate property varies from browser to browser, and different browsers may have different translation algorithms and dictionaries.
- When using the Translate attribute, you need to pay attention to security issues to avoid XSS attacks and malicious script injection.
If an element has the Translate attribute set, the browser will decide whether to translate the content of the element according to the value of the attribute. The Translate attribute is usually used in multilingual versions of websites to control which elements need to be translated and which elements do not.
14. Loading
The attribute in HTML loadingis a new attribute that can be used to specify the browser's priority when loading resources.

This attribute can be applied to tags such as <img>, <iframe>, <script>, <link>and <audio>.
Tips:
- lazy: Indicates that the resource should be lazily loaded after the page loads. It's the default value.
- eager: Indicates that the resource should be loaded immediately on page load.
- auto: Indicates that the browser should decide when to load the resource by itself.
loadingAttributes are not supported by all browsers, so a compatibility check is required when using them.
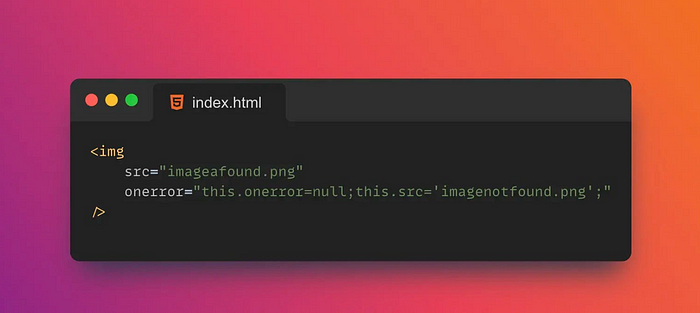
15. Onerror
onerroris a JavaScript event handler that fires on JavaScript errors.
onerrorEvent handlers can be added windowto objects to catch JavaScript errors globally.
Tips:
- message:wrong information.
- source: The URL of the script where the error occurred.
- lineno: The line number where the error occurred.
- colno: The column number where the error occurred.
- error: An Error object containing detailed information about the error.
onerrorEvent handlers can only catch JavaScript errors that are not caught by other error handlers.
It is best to use try-catch statements in your code to catch and handle JavaScript errors.
16. Poster
posteris an attribute of the HTML5 <video>tag that specifies an image to display before the video loads and before it plays.
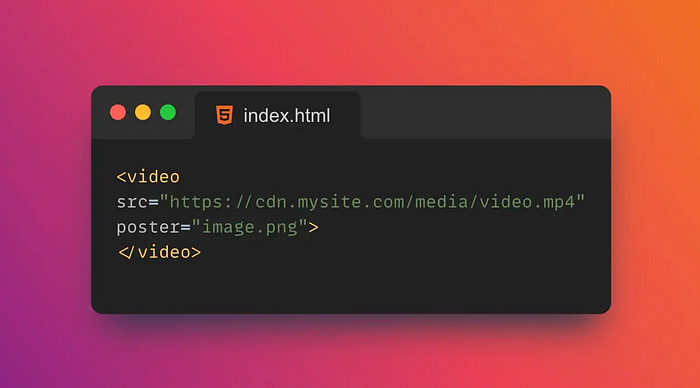
Tips:
posterAttributes only apply to <video>tags, not <audio>labels.
It is commonly used to provide a preview image or thumbnail of a video.
17. Controls
controlsIs an attribute of the neutral tag in HTML5 <video>, <audio>which is used to specify whether to display the controls of the media player.
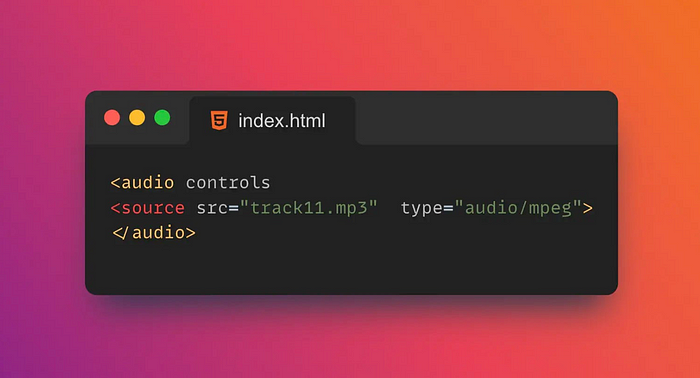
If controlsthe property is set to controls, controls are displayed on the media player, such as a play/pause button, volume control, progress bar, etc.
<!DOCTYPE html>
<html>
<head>
<title>Controls Example</title>
</head>
<body>
<video width="320" height="240" controls>
<source src="video.mp4" type="video/mp4">
<source src="video.ogg" type="video/ogg">
Your browser does not support the video tag.
</video>
</body>
</html>`
controlsAttributes are only available in browsers that support HTML5. If the browser does not support HTML5, the control will not be displayed.
18. Autoplay
autoplayis an attribute of the neutral tag in HTML5 <video>that <audio>specifies whether the media should play automatically on page load.
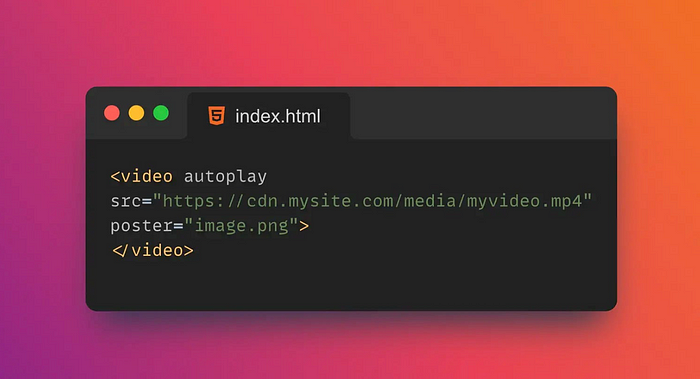
If autoplaythe property is set to autoplay, the media will play automatically on page load.
<!DOCTYPE html>
<html>
<head>
<title>Autoplay Example</title>
</head>
<body>
<video width="320" height="240" autoplay>
<source src="video.mp4" type="video/mp4">
<source src="video.ogg" type="video/ogg">
Your browser does not support the video tag.
</video>
</body>
</html>`
Autoplay can negatively impact the user experience, so use autoplayattributes with caution. In some cases, browsers may block autoplay, such as on mobile devices, where the user must first interact with the page to allow autoplay.
19. Loop
loopis an attribute of the <video>neutral <audio>tag in HTML5 that specifies whether the media should loop after playback ends.
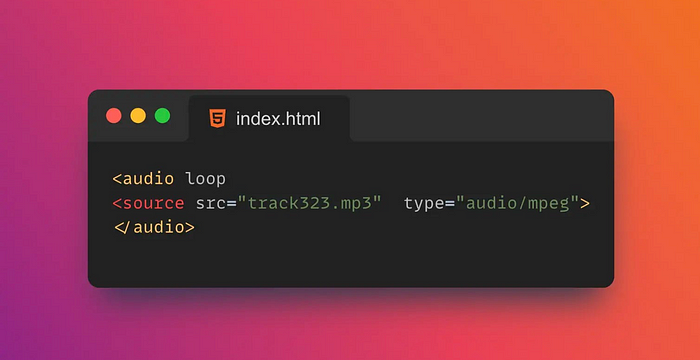
If loopthe property is set to loop, the media will loop after playback finishes.
<!DOCTYPE html>
<html>
<head>
<title>Loop Example</title>
</head>
<body>
<video width="320" height="240" loop>
<source src="video.mp4" type="video/mp4">
<source src="video.ogg" type="video/ogg">
Your browser does not support the video tag.
</video>
</body>
</html>`
Looping can negatively impact the user experience, so use loopattributes with care.
20. Cite
citeis a global attribute in HTML that can be used to specify the source of the citation.
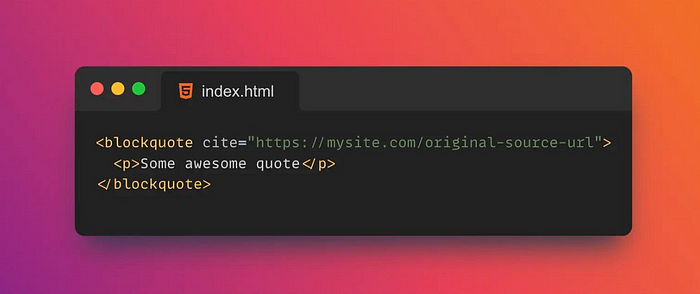
citeThe value of the attribute should be a URL pointing to the source of the reference.
Tips:
citeAttributes can be applied to tags such as <blockquote>, <q>, <del>, etc.<ins>
If the source of the referrer is not a URL, citethe value of the property can be set to a string describing the referrer.
<!DOCTYPE html>
<html>
<head>
<title>Cite Example</title>
</head>
<body>
<blockquote cite="https://www.example.com/quote">
This is a quote from an external source.
</blockquote>
<q cite="https://www.example.com/quote">
This is a short quote from an external source.
</q>
<del cite="https://www.example.com/deleted">
This text has been deleted from an external source.
</del>
<ins cite="https://www.example.com/inserted">
This text has been inserted from an external source.
</ins>
</body>
</html>
citeAttributes do not automatically create links, so if you need to create a link, you need to use <a>a tag and hrefset the attribute as citethe value of the attribute.
21. Datetime
datetimeIs an attribute of tags in HTML <time>, used to specify the date and time.
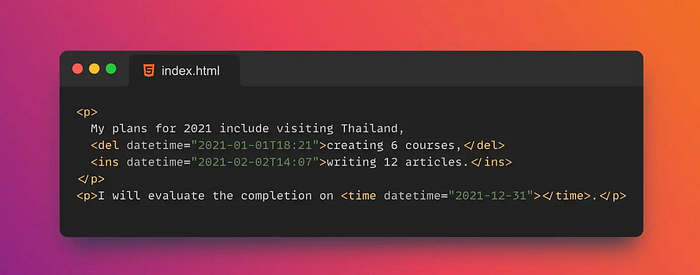
datetimeThe value of the attribute should be a valid date and time format, eg YYYY-MM-DDThh:mm:ss.
datetimeAttributes do not automatically format dates and times, so you need to use JavaScript or other tools to format dates and times.
22. Async
asyncis an attribute of the tag in HTML <script>that specifies whether the script should be loaded asynchronously.
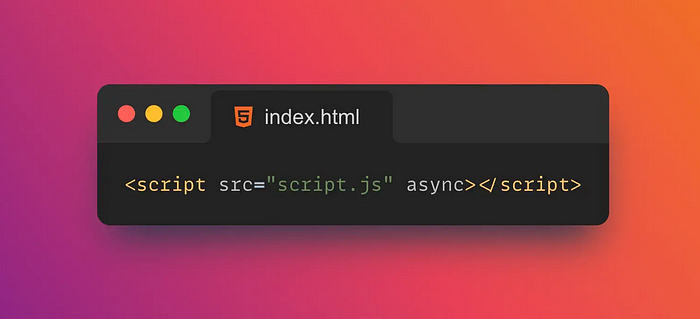
If asyncthe property is set to async, the script will be loaded asynchronously and will not block parsing and rendering of the page.
Scripts loaded asynchronously may execute before the rest of the page loads, so use with caution. This can cause errors if the script depends on other parts of the page.
23. Defer
deferis an attribute of the tag in HTML <script>that specifies whether scripts should be lazy-loaded.
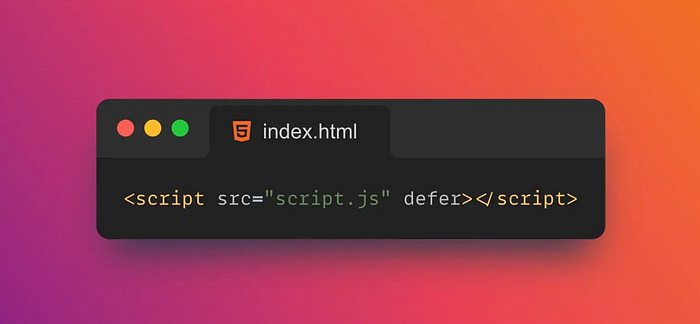
If deferthe property is set to defer, the script will delay loading until the page has been parsed before executing it.
<!DOCTYPE html>
<html>
<head>
<title>Defer Example</title>
<script defer src="script.js"></script>
</head>
<body>
<p>This is a paragraph.</p>
</body>
</html>
In the example above, we deferset the property to defer, which will cause the script to be lazy loaded. In this case the script will be executed after the page has been parsed and will not block the page from loading.
24. Draggable
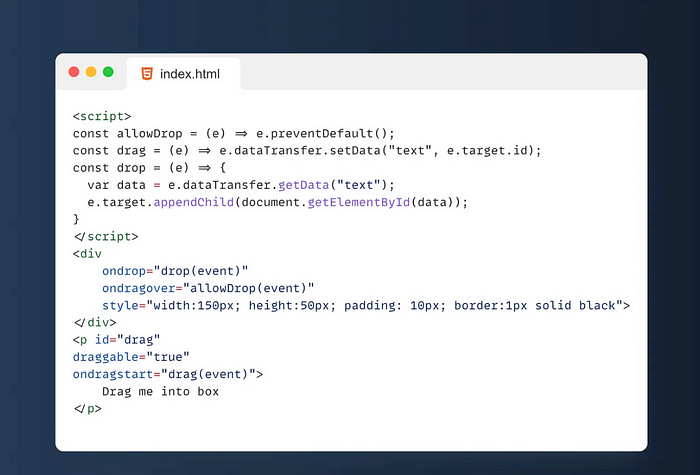
Draggableis an attribute in HTML5 that allows users to move elements by dragging them. draggableWhen an element is set to , the user can drag the element with the mouse or by touching the screen. When dragging an element, a series of events will be triggered, such as dragstart, , dragand dragend, and these events can be used to implement the drag-and-drop function.
'프로그래밍 > Style & Design' 카테고리의 다른 글
| [CSS] Magic inspired Social Share Button (0) | 2023.08.24 |
|---|---|
| Best 15 CSS Trends To Watch For 2023 (0) | 2023.07.04 |
| [Html] autofocus, required , placeholder, readonly (0) | 2022.11.01 |
| 웹폰트 사용하기,구글폰트/웹폰트 연결하기, 직접 폰트 변환하여 적용하기 (0) | 2022.10.31 |
| Pixabay 이미지 (0) | 2022.10.13 |