정리하고 싶은 아련한 사랑의 추억이 있다면 용기를 내어 추억의 장소에 가 "오겡끼데스까. 와따시와 겡끼데스!" 심금 울리게 부르짖고 끝내자. 상처를 준 옛사랑이 있다면 "잘 먹고 잘 살아라!"를 외쳐주자. 그리고 과거는 훌훌 털어버리고, 홀가분하고 자유롭고 새로운 사랑을 시작하는 길로 힘차게 걸어갔으면 좋겠다. 누군가를 사랑했던 당신은 아름답다. 때가 되어 사랑을 보낼 줄도 아는 당신은 더욱 아름답다.
- 김지윤의《사랑하기 좋은 날》중에서 -
* 안녕? 잘 지내나요? 이젠 좀 여유가 생겼나요? 당신은 웃는 모습이 참 예뻐요. 많이 웃어요. 난 정말 당신이 행복했으면 하는 바람이에요. 내 사랑, 안녕!
Chanko offers a simple framework for rapidly and safely prototyping features in a production Rails app. You can expose those changes and new features to specific segments of your user base, and if Chanko produces any errors, it’ll be automatically removed without impacting your site.
I was working as a graphic designer a few years ago and a common problem that I would run into was picking color schemes for new projects. One of my colleagues said, “Just pick a nice photo and grab colors from there”. This technique works well because photos offer you a natural combination of colors. So I was thinking, “Why not transfer this same concept to my work as a coder?”. And this is where Organic comes in to play. When I was first introduced to Organic I was amazed how simple it was and at the same time, how flexible its approach is. Finally, I had something which encourages modular programming, its just as useful as the MVC pattern, and it’s a great tool for architecting.
The Concept
As you may have guessed, the Organic concept is biology based. Your main application acts as a Cell, which has a Membrane and a Nucleus. But the real job of a Cell is done by the Organelles, which communicate between each other with Chemicals. Of course, the elements and the processes in Organic are not 100% identical to real life Cells, but they are pretty close. Now, I know it sounds crazy, but once you start working with it you’ll see how simple and natural this approach can be when applying it to your apps.
Download Organic
Organic is distributed as a Node module. So you should have NodeJS already installed. If you don’t, please go to nodejs.org and grab the latest version for your OS. Your package.json file should look like this:
1
2
3
4
5
6
7
8
9
{
"name": "OrganicDevelopment",
"version": "0.0.0",
"description": "Organic development",
"dependencies": {
"organic": "0.0.11"
},
"author": "Your Name Here"
}
Run npm install in the same directory and the manager will download the necessary files. The core of Organic is actually pretty small. It contains only the definition of the main elements – Cell, Nucleus, Membrane, Plasma, Organelle, Chemical, and DNA. Of course it comes with a few tests, but it’s a small package overall. This helps in making it easy to learn and start developing with almost immediately.
The Example
For this article I decided to create a simple web site using only the core of Organic. The source code can be downloaded at the top of this article, if you’d like to follow along. I think that this sample application is the best way to present this new pattern. The site contains two pages – Home and About. Here’s a screenshot of the site:
The app contains two buttons linking to the two different pages. The About page has just a little bit more text than the Home page does. Simple enough, but let’s see what’s behind the curtains. Here’s a diagram displaying the basic request flow of our application:
The user sends a request to our NodeJs application. The Server accepts the request and sends it to the Router. After that, the Render knows which page should be used and returns an answer to the Server. At the end, the response is then sent to the user.
There is one additional element, Data Providers, which prepares the needed CSS or JavaScript for the Render (keep in mind that in our example app I didn’t use JavaScript, there is only a CSS module).
Here’s what our app would look like as a Cell, in Organic:
In the Cell, we have a membrane which keeps the internal elements away from the outside world. In this membrane is where we’ll put our first organel, our Server, because this is where data can either enter or leave our application. The other organelles (Router, Render, and CSS) are placed in the plasma. All of these modules are communicating between each other via chemicals (request, page and css, marked in red). The Server emits a request chemical. The Router emits a page and the CSS organel sends the css. I should also mention that the plasma acts as an event bus for the chemicals. Organelles listen for a particular chemical and if found, they react on it.
Here’s another request flow diagram, but this time with the chemicals that are emitted (marked in red):
Now if this concept is still unclear to you, don’t worry, as we proceed through the next few sections and get into the actual code, it should make more sense then!
DNA
Everything starts with the DNA (Deoxyribonucleic acid), which you can think of as a Cells configuration. In this DNA is where you will define your organelles and their settings.
Let’s create a new index.js file and put in the following code:
1
2
3
4
5
6
7
8
9
10
11
12
13
14
15
16
17
18
19
20
21
22
23
24
25
varDNA = require("organic").DNA;
varCell = require("organic").Cell;
vardna = newDNA({
membrane: {
Server: {
source: "membrane.Server"
}
},
plasma: {
Router: {
source: "plasma.Router"
},
CSS: {
source: "plasma.CSS",
file: "./css/styles.css"
},
Render: {
source: "plasma.Render",
templates: "./tpl/"
}
}
});
varcell = newCell(dna);
The above code is just a definition for the DNA and Cell initialization. You can see we’ve placed our Server in the membrane and the Router, CSS, and Render in the plasma, as we discussed in the last section. The source property is actually mandatory and contains the path to your individual organelles.
Keep in mind that the file property in the CSS organel and the templates property in the Render organel are actually custom properties, which I set. You can add whatever customization you need in here as well.
And just for your reference, the directory structure for your app should look like this:
The above code shows the basic format for creating an organel. If you want to use this.emit or this.on you’ll need to make sure to inherit Organel as we did above. And actually, the plasma parameter variable has those exact same methods (emit and on), so you could use plasma directly and skip the inheritance if you wanted.
Also, notice the config parameter; This is the object that you defined in your DNA, which is a good place for any of your custom configuration.
The Server
The Server is your main organel, which accepts requests and sends responses to the browser. Here’s what your Server organel should look like:
Two things are happening here. The first one is the definition of the NodeJS server, which of course has a handler accepting request (req) and response (res) objects. Once the request is received, the Server organel sends a chemical, with the type request, notifying the rest of the organelles. It also attaches the req object, so whoever needs more information about the incoming request can access data from the chemical directly.
The emit method then takes a second argument which is a callback function. You can use this to return the flow back to the organel, which sends the chemical. I.e. once the Render finishes its job, it calls the Server’s callback. It takes the produced HTML and by using the res object sends the page to the user.
The Router
For our next organel, the Router just listens for a request chemical, which is sent by the Server. It gets the URL from the req object and decides which page should be shown. Here’s the code for the Router:
Now, the router itself just emits a new chemical with a type of page. Keep in mind, there are two other organels listening for this chemical as well, but by default, it’s not transfered to all of the other elements in the plasma. Of course, there may be times when you will need such functionality. To do so, you just need to return false; in the chemical’s listener. We’ll see this in action in the next section.
This module is just a simple one-task organel which gets the path to the .css file, reads it, and later emits a chemical containing the actual CSS styles. Also, pay attention to the return false; statement at the bottom. As I said from the last section, it’s important to do this, otherwise the Render will not receive the page chemical sent by the Router. This happens because the CSS organel is defined before the Render in the DNA.
The Render
And lastly, here’s the code for our Render organel:
html = formatTemplate(templates.layout, {content: html});
html = formatTemplate(html, vars);
chemical.ready(html);
});
}
There are two helper methods here: getTemplate and formatTemplate which implement a simple template engine for loading an external HTML file and replacing mustache-style variables. All of the templates are stored in an object for quick access. Afterwards we have just a few lines for HTML formatting and then everything is ready to go. The Render organel also listens for the css chemical and lastly the application provides a notFound 404 page, if needed.
So here’s what the final app’s directory structure looks like:
1
2
3
4
5
6
7
8
9
10
11
12
13
14
/css
/styles.css
/membrane
/Server.js
/node_modules
/plasma
/CSS.js
/Render.js
/Router.js
/tpl
/about.html
/home.html
/layout.html
/notFound.html
Running the Application
Simply run node index.js in the console and you should see something similar to this:
With your server running, you should now be able to visit http://127.0.0.1:3000 in your favorite browser. Try clicking on the links to switch between the two pages a few times and then go back to your console to view the output.
You should see a nice report about the applications recent activity. Now you may also notice something else in the console:
1
2
request /favicon.ico
Opening favicon.ico page.
You can see that there is one more request coming from the browser. It wants to load favicon.ico. However our little site doesn’t have such an icon, so it just opens the 404 page. You can try this for yourself by visiting: http://127.0.0.1:3000/favicon.ico.
If you’d like to check out the full source code for this tutorial, you can download it using the download link at the top of this page.
HTML5 is popular language amongst web designers because it is being supported by the most of the modern browsers like Firefox 6, Google Chrome, IE9 etc.. HTML5 provides numerous new features and capabilities that were things of fantasy with previous versions of HTML. Web pages will now be more semantic with the use of structure specific tags. Visual elements like rounded corners are now built in, and so is the ability to create drag and drop interactivity.
In this article I have generated a list of best HTML5 frameworks that will simplify your development process and speed up your coding. Following HTML5 frameworks are best in my concern, If you are aware of any other useful HTML5 framework, please do let us know by posting comments. We would love to hear from you. I hope you will find this list handy and useful for your development needs.
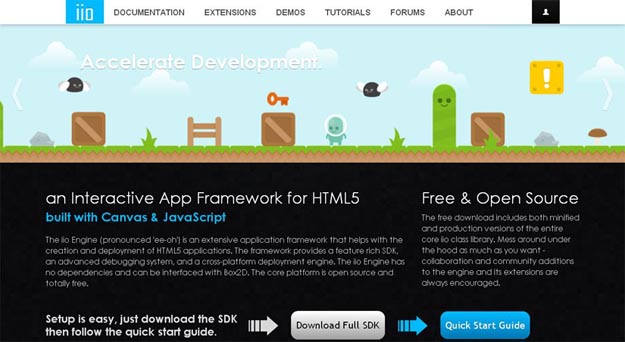
iio Engine is an open source framework for creating HTML5 applications with JavaScript and canvas. The framework is lightweight (45kb) and packed with a debugging system+ cross-platform deployment engine. It doesn’t require any JS frameworks and can work side-by-side with Box2D.
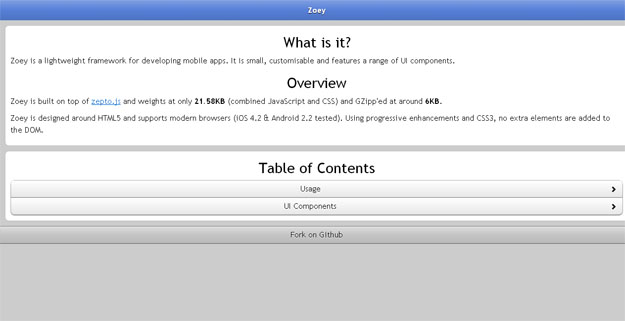
It is a HTML5-CSS3-powered framework for creating mobile apps, built on top of Zepto.js and weights only 6kb (gzipped). Zoey has the UI components like navigation, lists, buttons, control groups, forms and grids. The framework is compatible with iOS + Android and comes with an app skeleton that covers all the features.
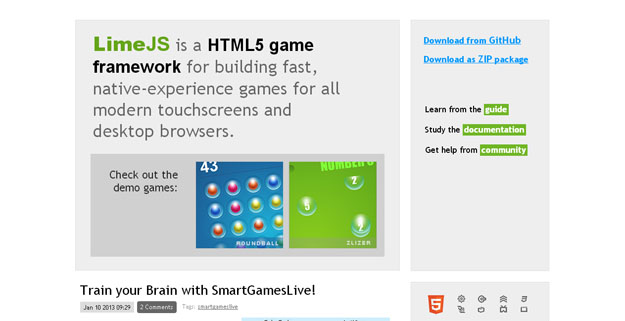
It is a HTML5 game framework for building games that’ll feel native and work fast in modern touchscreens and desktop browsers. LimeJS is created with Closure Library built by Google and comes with functions/classes to control the timeline, events, shapes and animations. Also, the framework has full support of sprite sheets (you can collect all images inside a single file).
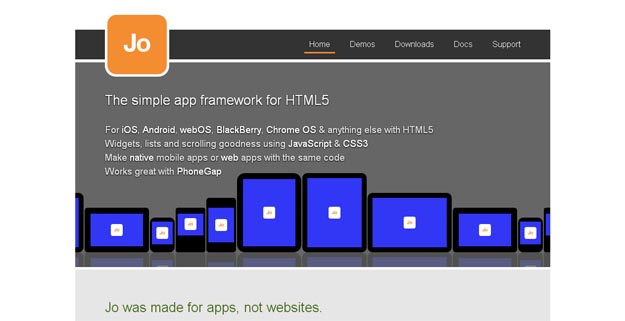
Jo is an open source mobile application framework that is based on HTML5 . It enables you to create for multiple platforms like webOS, iOS, Android, Symbian, Safari, Chrome and Dashboard Widgets. The framework is small in size, ~8kb, without any dependencies and compatible with many other JS frameworks. Jo is also compatible with PhoneGap and makes possible to create native apps besides web apps.
Lungo.jS is first mobile framework that is includes features of HTML5, CSS3, and JavaScript. Lungo.js helps developers to create iOS, Android, Blackberry and WebOS platform based applications. This framework is designed to take advantage of the features of current mobile devices and it captures events like swipe, tap double tap. It doesn’t use images, everything is available in vector, and you can directly distribute your apps to “Mobile Stores” or in websites.
52 Framework is most popular HTML5-CSS3 based frame work among designers and developers. The support for all modern browsers with IE6 makes this framework most distinctive and useful framework in its category.
Junior is a HTML5 front-end framework for creating mobile apps that look and behave like native. It uses CSS3 transitions for a slick performance, supports swipable carousels and includes various UI components (from Ratchet). The framework uses Zepto (which is nice for jQuery fans as it has a jQuery-like syntax) and has integration with backbone.js views + routers.
Sencha Touch, a high-performance HTML5 mobile application framework, is the cornerstone of the Sencha HTML5 platform. Built for enabling world-class user experiences, Sencha Touch is the only framework that enables developers to build powerful apps that work on iOS, Android, BlackBerry, Windows Phone, and more.
Gridless is an optionated HTML5 CSS3 boilerplate for making mobile first responsive, cross-browser websites with beautiful typography. It works on DBY (don’t bore yourself) approach and allows developers to use CSS normalization, beautiful typography, a well organized folder structure, IE bug fixes and other nice tricks for their websites.
Cartagen lets you make beautiful, customized maps with a simple stylesheet. Maps are styled with Geographic Style Sheets (GSS), GSS is a scripting language as well making Cartagen an idea framework for loan modification mapping dynamic data. Cartagen is vector mapping, client side HTML 5 framework for rendering maps in native HTML5 applications.
Baker is a HTML5 eBook framework to publish interactive books and magazines on iPad and iPhone using simply open web standards. In order to use the Baker, developer has to design HTML5 pages with a fixed width of 768 px.
Joshfire is an open source multi device development frameworks which assists developers to develop web applications that can run on multiple devices. It uses standards like HTML5 and JavaScript and allows developers to quickly integrate native and dedicated web apps for browsers, Node.JS, desktops, smart phones, smart TVs and connected objects.
Sprout core is an open source HTML5 Framework used to rapidly build up innovative web applications. With sprout care developers can build rich, interactive applications with less code.
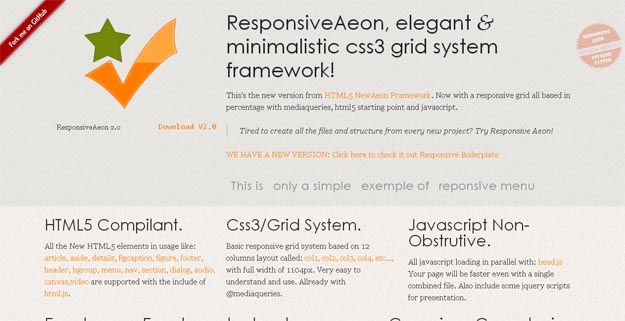
ResponsiveAeon is a HTML5/CSS3-powered framework for creating responsive layouts very quickly. It has a grid system that is based on 12 columns with 1104px width in total and offers a very easy to understand usage with only 3 basic classes.
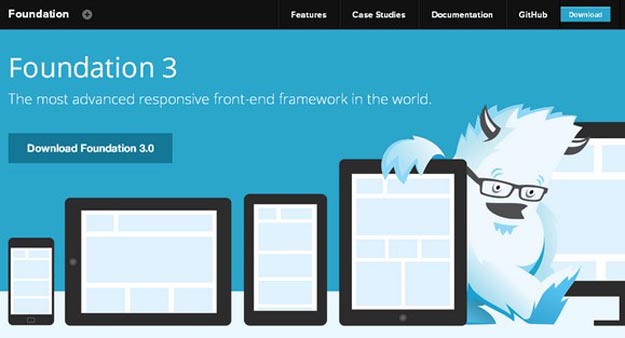
Foundation 3 is built on ZURB’s 14 years of experience at building sites and apps for the Web. It is built with Sass, a powerful CSS preprocessor, which allows us to much more quickly develop Foundation itself, as well as sites built with it. You can use the Sass or straight CSS version of Foundation.
G5 is lightweight frontend Framework which only includes those features which actually require to build up beautiful websites. It was started as personal project; G5 helps to speed up work flow by reusing the similar and best coding techniques. As G5 states that it includes only those features which are necessary for web development it still holds a bunch of features such as Base CSS, Php active class, smooth scroll to top, base Seo, Sticky Footer, Clean organization etc.
과거를 자유롭게 놓아주십시오. 과거를 놓아준 만큼 미래가 열립니다. 과거를 놓아 주면 마음이 유연해집니다. 익숙한 것과의 이별. 습관과 우리를 신뢰하는 모든 것과 하루에 몇 번씩이라도 이별을 고하세요.
- 안젤름 그륀의《머물지 말고 흘러라》중에서 -
* 과거 때문에 흔들리는 관계가 참 많습니다. 특히 친구, 연인, 부부 사이는 더욱 그러합니다. 과거에 매여 있는 한 발걸음을 앞으로 내딛기가 어렵습니다. 자기의 과거는 말할 것도 없고 상대의 과거를 자유롭게 놓아 주십시오. 그래야 미래가 새롭게 열립니다. 사랑이 회복됩니다.
너무 상태가 좋을 때는 오히려 차라리 먼저 브레이크를 걸고, 억누르는 느낌으로 하여 평상시의 감각을 되찾도록 유념하자. 절대 호황기 뒤에는 원래 자리로 돌아가려는 현상이 반드시 찾아온다. -사와다 히데오, ‘운을 잡는 기술’에서
좋은 때에 분위기를 타면 오히려 위험을 초래할 가능성이 높아집니다. 어딘가에서 뭔가의 형태로 균형이 무너질 수 있고, 너무 좋아 우쭐해져버림으로써 신중함이나 섬세함이 무뎌져 변화를 알지 못하게 되어 추락할 수도 있습니다. 잘 나갈 때 미리 브레이크를 거는 지혜가 필요합니다.