10 JavaScript Audio Libraries for Developers
1. Howler.js
Howler.js is a JavaScript library that works with Web Audio API by default and falls back to HTML5 Audio when not supported. It accepts multiple file formats for cross-browser compatibility, has caching and can play many sounds at the same time (it is also mute/un-mute them one-by-one or globally). The sounds can be looped, a fadeIn/fadeOut effect exists and standard media controls are just a part of the library. It is lightweight (5kb), has support for chaining methods and doesn’t require any JS frameworks.
Source
2. Annyang.js
Annyang is a tiny javascript library that lets your visitors control your site with voice commands. Annyang has no dependencies, weighs less than 1kb, and is free to use and modify. It plays nicely with all browsers, progressively enhancing browsers that support SpeechRecognition, while leaving users with older browsers unaffected. It is licensed under MIT License.
Source
3. Voix.js

Voix.JS is handy, lightweight JavaScript library for adding voice commands to your site, games and apps. It has functions to start and stop listening through the microphone and we can set events to be fired when a given keyword is detected.
Source
4. Audio.js
Audio.js is a drop-in javascript library that allows HTML5′s audio tag to be used anywhere. It uses native audio where available and an invisible flash player to emulate audio for other browsers. It provides a consistent html player UI to all browsers which can be styled used standard css.
Audio.js focuses on playing mp3s. It doesn’t currently support the ogg format. As mp3 is the current defacto music transfer format, ogg support is lower on our list of priorities. It has been tested on Mobile Safari (iOS 3+), Android (2.2+, w/Flash), Safari (4+), Chrome (7+), Firefox (3+, w/ Flash), Opera (10+, w/ Flash), IE (6, 7, 8, w/ Flash).
Source
5. Buzz

Buzz is a small but powerful Javascript library that allows you to easily take advantage of the new HTML5 audio element. It degrades properly on non-modern browsers. It is written by Jay Salvat and licensed under the MIT License.
Source
6. SoundManager 2
SoundManager 2 is an attempt at providing the sound API which Javascript has been missing. It’s a Javascript library which wraps and extends Flash’s sound capabilities, bringing cross-platform audio functionality to Javascript. SoundManager 2 was written to meet a desire to have Javascript-driven sound for interactive web-based projects. It is free for use in both personal and commercial projects. SoundManager 2 gives you a single, powerful API that supports both new and old, using HTML5 audio where supported and optional Flash-based fallback where needed. Ideally when using SoundManager 2, audio “just works.”
Source
7. Sound.js
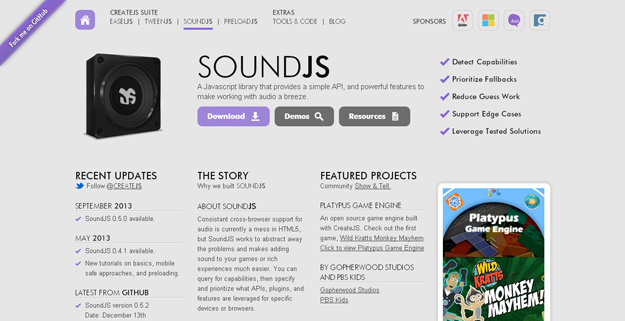
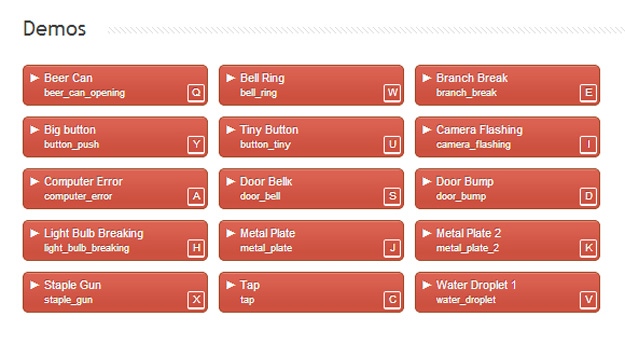
SoundJS is a library to make working with audio on the web easier. It provides a consistent API for playing audio in different browsers, including using a target plugin model to provide an easy way to provide additional audio plugins like Web Audio, and a Flash fallback. A mechanism has been provided for easily tying in audio preloading to PreloadJS.
http://www.createjs.com/#!/SoundJS
8. Audiolet
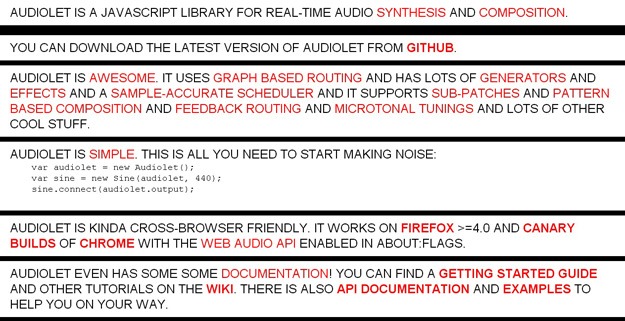
Audiolet is a JavaScript library for real-time audio synthesis and composition from within the browser. It uses graph-based routing and pattern-based scheduling to make complex audio simple to program, and easy to understand.
Source
9. ION.Sound
Ion.Sound is a jQuery plugin for playing sounds on events. It has been tested on Google Chrome, Mozilla Firefox, Opera, Safari, IE(9.0+) and mobile browsers. Ion.Sound freely distributed under terms of MIT license.
Source
10. Audio5js
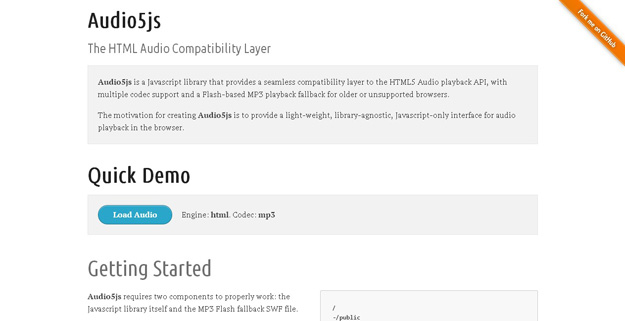
Audio5js is a Javascript library that provides a seamless compatibility layer to the HTML5 Audio playback API, with multiple codec support and a Flash-based MP3 playback fallback for older or unsupported browsers.
The motivation for creating Audio5js is to provide a light-weight, library-agnostic, Javascript-only
interface for audio playback in the browser.
Source


