벡터 DB 만들어 보기
9.1.2. 벡터 DB 만들어 보기
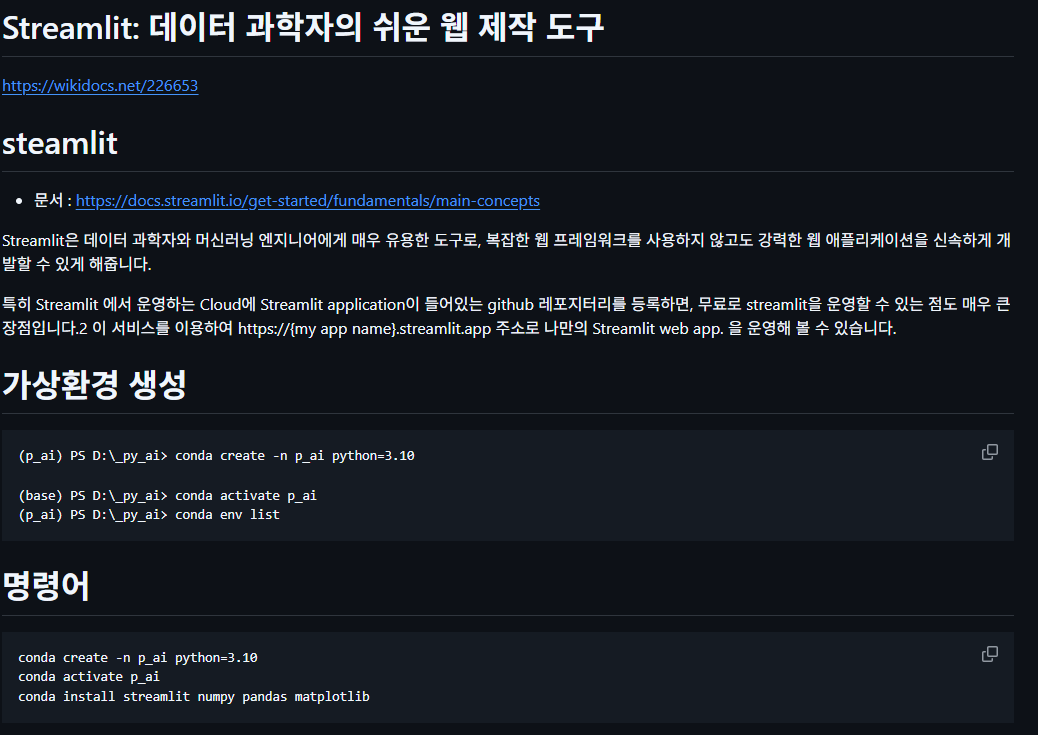
**벡터 DB 생성 코드** --- 다음은 벡터 DB를 생성하는 코드입니다. ```python # build_vector_db.py from langchain_community.…
wikidocs.net
벡터 데이터베이스 정의
벡터 데이터베이스는 데이터 객체의 수치적 표현인 벡터(벡터 임베딩이라고도 함) 형태로 정보를 저장하는 데이터베이스입니다. 이러한 벡터 임베딩의 성능을 활용하여 이미지, 텍스트, 센서 데이터 등의 비정형 데이터 및 반정형 데이터로 구성된 대규모 데이터 세트를 색인하고 검색합니다. 벡터 데이터베이스는 벡터 임베딩을 관리하기 위해 구축되었으므로 비정형 및 반정형 데이터 관리를 위한 완벽한 솔루션을 제공합니다.
벡터 데이터베이스는 벡터 검색 라이브러리 또는 벡터 인덱스와 다릅니다. 이는 메타데이터 저장 및 필터링을 가능하게 하고, 확장 가능하며, 동적 데이터 변경을 허용하고, 백업을 수행하고, 보안 기능을 제공하는 데이터 관리 솔루션입니다.
벡터 데이터베이스는 고차원 벡터를 통해 데이터를 구성합니다. 고차원 벡터에는 수백 개의 차원이 포함되어 있으며 각 차원은 그것이 나타내는 데이터 객체의 특정 기능이나 속성에 해당합니다.
벡터 임베딩이란 무엇인가요?
벡터 임베딩은 주제, 단어, 이미지 또는 기타 데이터를 숫자로 표현한 것입니다. 임베딩이라고도 하는 벡터 임베딩은 대규모 언어 모델 및 기타 AI 모델에 의해 생성됩니다.
각 벡터 임베딩 사이의 거리는 벡터 데이터베이스 또는 벡터 검색 엔진이 벡터 간의 유사성을 결정할 수 있게 해줍니다. 거리는 데이터 객체의 여러 차원을 나타낼 수 있으므로,머신 러닝 및 AI가 패턴, 관계 및 기본 구조를 이해할 수 있습니다.

DB-Engines Ranking of Vector DBMS
https://db-engines.com/en/ranking/vector+dbms

데이터 저장 및 읽기까지 9단계 과정 필요
통상 벡터 DB에 데이터를 저장하고 이를 읽어오기까지는 9단계 과정이 필요하다. 기업이 자체적으로 작성한 신입사원 백서 파일을 벡터 DB에 저장하고 신입사원이 기업 전용 생성형 AI 챗봇에 질의하고 받기까지 과정을 예로 들어 보자. 먼저 구축된 벡터 DB에 덩어리(청크, Chunk) 형태로 백서 파일을 변환해야 한다. 청크는 의미 있는 단위로 나누는 것을 의미한다. 이후 청크 형태로 바뀐 신입사원 백서 데이터를 임베딩 모델에 넣어 벡터화한다. 이렇게 벡터화된 신입사원 백서 데이터를 벡터 DB에 넣기 전 인덱싱(Indexing)을 통해 정렬하고 벡터 DB에 저장한다. 여기까지가 신입사원 백서 파일을 벡터화하고 벡터 DB에 저장하는 과정으로 볼 수 있다. 이때 사내 규정 및 거버넌스가 바뀌면서 백서가 수정될 경우 벡터 DB에 실시간으로 반영할 수 있어야 한다.
벡터 DB와 지식그래프 비교 (출처: medium.aiplanet.com)
이후 신입사원이 기업용 생성형 AI 챗봇에 입사 첫해 여름휴가를 최대 며칠까지 사용할 수 있는지 질의한다면, LLM과 연동된 랭체인을 통해 쿼리를 임베딩 모델에 넣어 벡터화한다. 이후 벡터화된 질의문을 벡터 DB 내 인덱스에서 유사 벡터 군집(휴가에 대한 정보들) 및 벡터 데이터(입사 첫해 여름휴가 정보)를 찾고 이를 다시 LLM에 보내 사용자가 이해할 수 있는 답변으로 치환해 보여주는 방식이다. 이러한 과정은 타 DB와 별다른 차이점이 없다.
다음은 벡터 DB를 생성하는 코드입니다.
# build_vector_db.py
from langchain_community.document_loaders.csv_loader import CSVLoader
from langchain_community.vectorstores import Chroma
from langchain_upstage import UpstageEmbeddings
loader = CSVLoader(
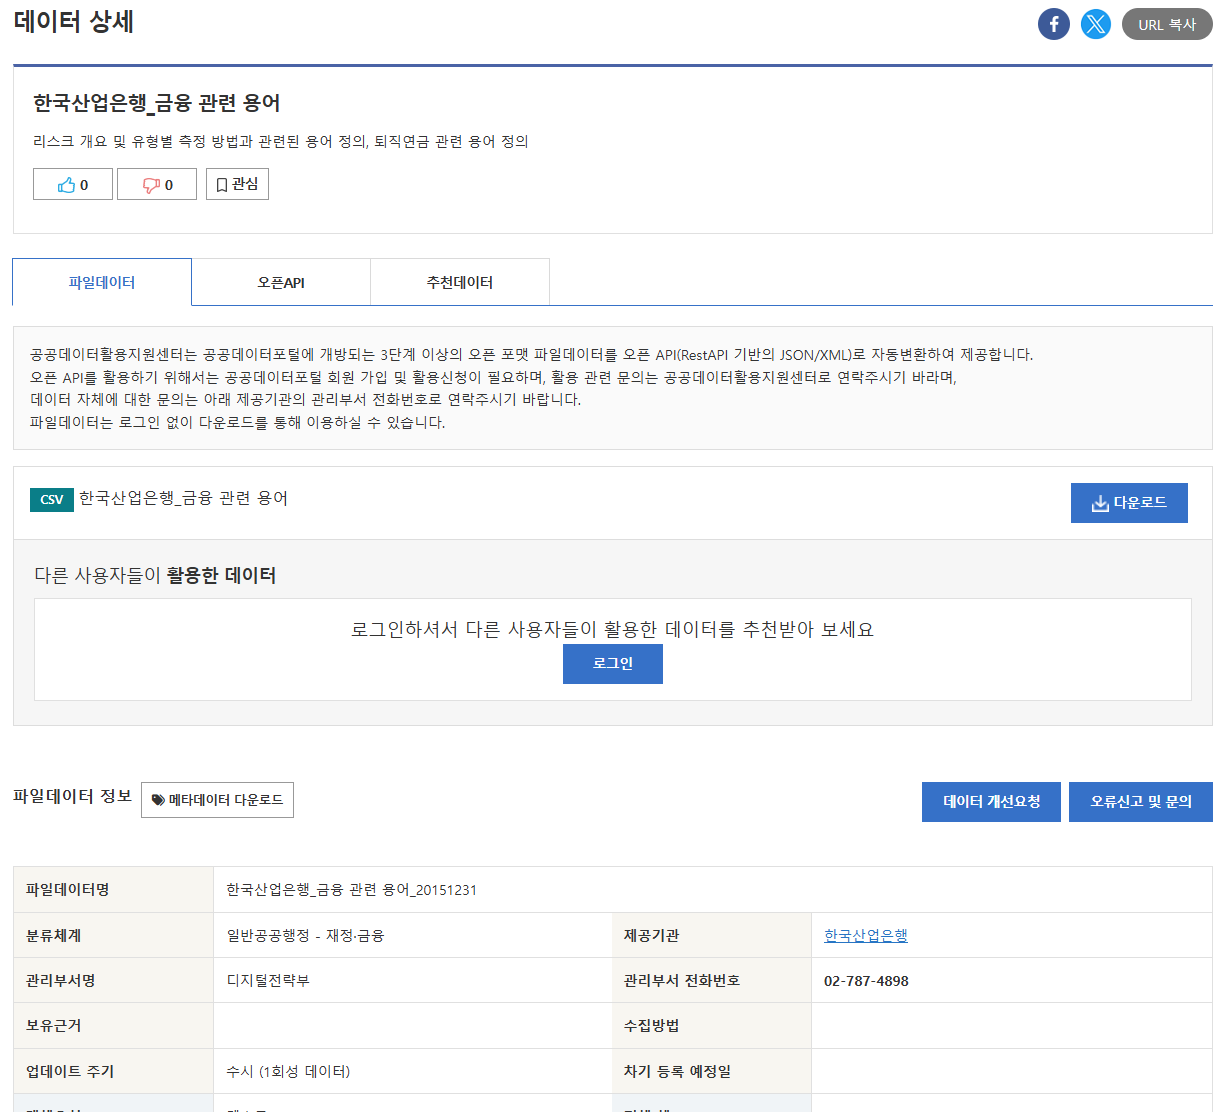
file_path="./csv/한국산업은행_금융 관련 용어_20151231.csv", encoding="cp949"
)
pages = loader.load()
print(pages[:2])
us_model = UpstageEmbeddings(
api_key="up_ULzGbJVs57bcnNHm8D0KdI51Nzl4F",
model="solar-embedding-1-large"
)
Chroma.from_documents(pages, us_model, persist_directory="./database")
코드 블록별로 설명하면 아래과 같습니다.
- CSV 파일 로드
실습에 사용되는 파일을 로드합니다. CSVLoader 객체를 사용하여 CSV 파일을 로드하고, 반환된 Document 정보를 pages 변수에 저장합니다. 다음 코드는 CSV 파일을 출력하고 샘플 데이터를 출력하는 내용입니다.
loader = CSVLoader(file_path="./csv/한국산업은행_금융 관련 용어_20151231.csv", encoding='cp949')
pages = loader.load()

print(pages[:2])
[Document(metadata={'source': './csv/한국산업은행_금융 관련 용어_20151231.csv', 'row': 0}, page_content='구분: 리스크\n분류: 리스크 개요\n용어: 리스크(Risk)\n설명: 미래수익 또는 자산가치 변동
의 불확실성(Uncertainty)으로 인하여 보유자산에서 손실이 발생할 가능성(신용  시장  금리  유동성리스크 등) 또한 부적절하거나 잘못된 내부절차  시스템 오류  직원의 실수·고의 또는 자연재해 등의 사 건에 의해 손실이 발생할 가능성 (운영리스크 등)'), Document(metadata={'source': './csv/한국산업은행_금융 관련 용어_20151231.csv', 'row': 1}, page_content='구분: 리스크\n분류: 리스크 개요\n용어: 불확실성\n설명: 설사 손실이 발생한다 해도 발생될 것이 확실하고 크기(금액)도 확실히 알 수 있어서 회피 또는 수용하기로 의사결정하고 나면 그것은 더 이상 리스크가 아님')]
- 임베딩 모델 로딩
업스테이지 랭체인 인터페이스를 사용해서 solar-embedding-1-large 모델을 로딩합니다.
us_model = UpstageEmbeddings(
    api_key="발급받은 키",
    model="solar-embedding-1-large"
)
- 벡터 DB 생성
Chroma.from_documents 메서드를 호출해서 로딩한 문서를 임베딩 모델을 통해 임베딩 벡터로 변환하고 이것을 최종적으로 로컬 디렉터리에 저장합니다.
Chroma.from_documents(pages, us_model, persist_directory="./database")
이 명령이 실행되고 나면 임베딩 벡터 외에도 원문 정보, 인덱스, 메타 데이터 등의 각종 정보를 바탕으로 로컬 디렉터리에 데이터베이스가 구성됩니다. 다음은 로컬에 생성된 데이터베이스를 캡처한 자료입니다.
'프로그래밍 > Python' 카테고리의 다른 글
| [python] List of running process using python (0) | 2025.06.05 |
|---|---|
| [python] zimport - 수많은 python 패키지를 압축하여 관리 (github.com/waveware4ai) (0) | 2025.06.04 |
| [AI] **"Hallucination" (환각)** 할루시네이션 (0) | 2025.05.27 |
| [AI] RAG (검색 증강 생성) 설명 (0) | 2025.05.27 |
| [python] 한국산업은행_금융 관련 용어 데이터 (0) | 2025.05.27 |