
Showcase Of Fresh And Free jQuery Plugins And Tutorials
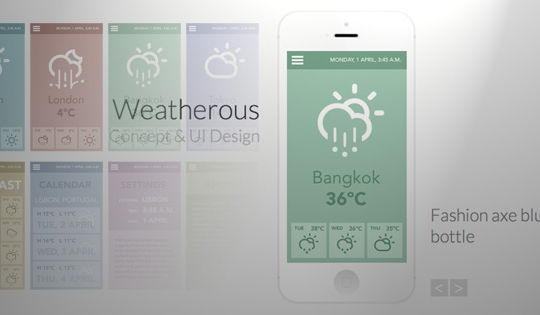
App Showcase with Grid Overlay
A tutorial about creating a simple grid overlay with subtle transitions for an app showcase.
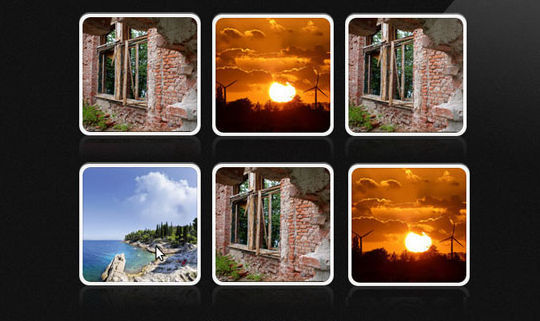
Thumbnail Grid with Expanding Preview
A tutorial on how to create a thumbnail grid with an expanding image preview similar to the effect seen on Google Images.
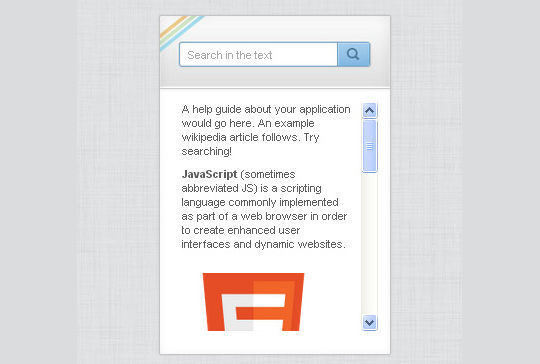
In this tutorial, we are going to create a mini help system with jQuery. This will be a small widget which will display help text or a guide to users of your web application. The widget content is going to be searchable in real time, and all matching terms will be highlighted.
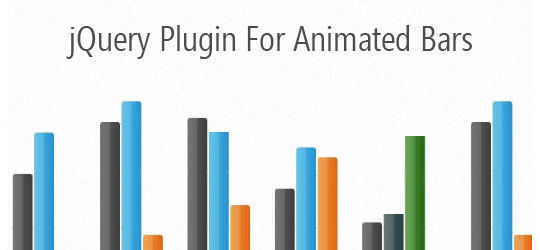
jQuery Animated Bar Plugin: jqBar
This is a simple jQuery plugin for creating animated vertical and horizontal bars. The plugin is called jqBar. jqBar can be used in variety of situations where you want to present data with some visual effects. It helps you crate beautiful bar charts to represent skill set or can be used as a progress bar. Plugin is very light weight and can be completely customized.
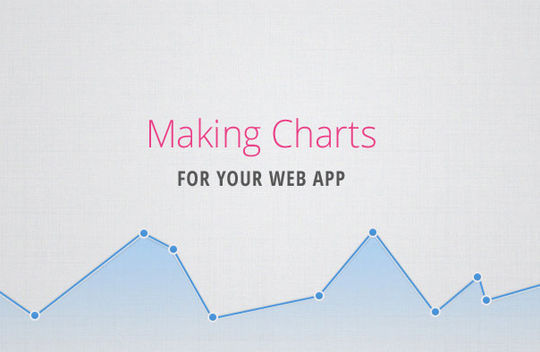
Charts For Your App with jQuery and xCharts
Make Pretty Charts For Your App with jQuery and xCharts.
iOS-Style Content Slider using jQuery
In this tutorial I want to focus on one useful plugins called iosSlider. This is an open source project with numerous options for customizing your own media slideshow. This includes typical animations and effects for when the user clicks or hover over slideshow items.
Create a Sticky Navigation Header Using jQuery Waypoints
In this tutorial, we’ll be creating a navigation bar that stays with you as you scroll down — and we’ll also throw a gimmick or two into the mix to polish it off.
Interactive Infographic with SVG and CSS Animation
Learn how to build an interactive animated infographic using SVG, CSS and JavaScript.
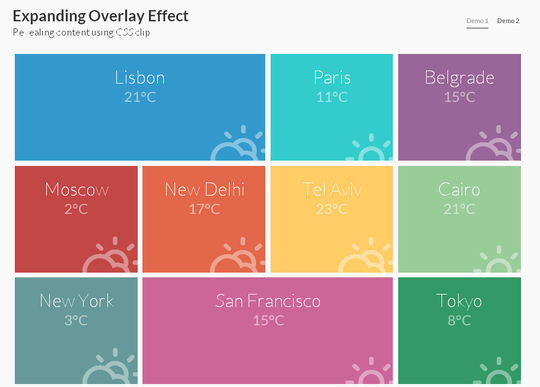
PUtting CSS Clip to Work: Expanding Overlay Effect
A tutorial about how to create a simple expanding overlay effect using the CSS clip property and CSS transitions.
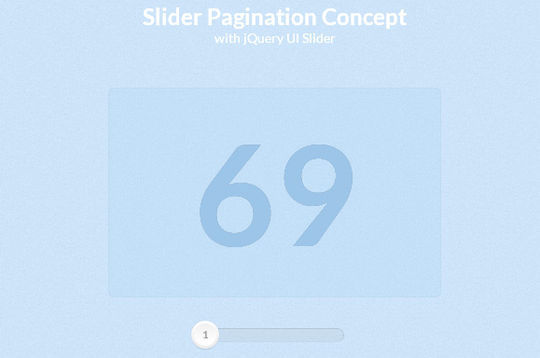
An experimental slider pagination using the jQuery UI slider. The idea is to use a simple navigation concept that preserves layout and style while allowing content to stay easily accessible.
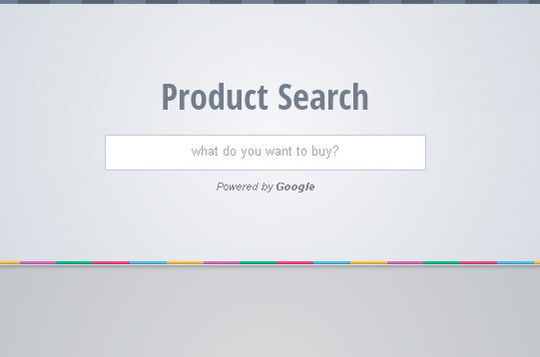
Make a Google Powered Shopping Search Website
In this tutorial, we will be making a simple product search engine. Using jQuery and PHP, we will tap into Google’s Shopping Search API and return a list of items available for purchase, along with prices, photos and other useful information.
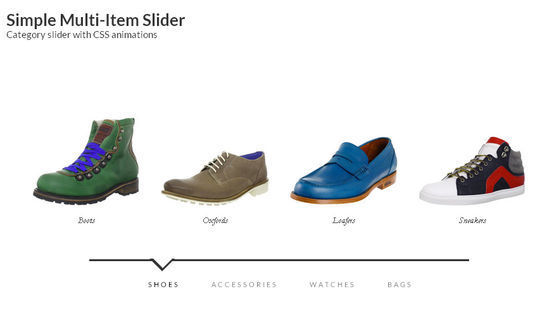
How to Create a Simple Multi Item Slider
A tutorial on how to create a simple category slider with a minimal design using CSS animations and jQuery. The idea is to slide the items sequentially depending on the slide direction.
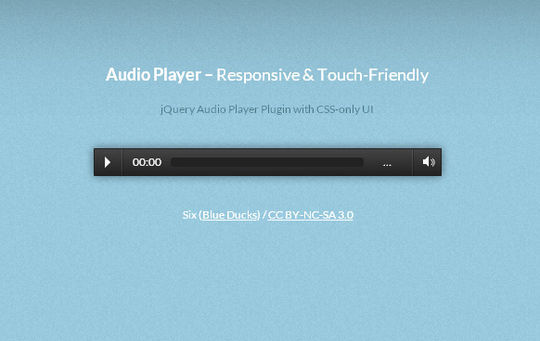
Responsive & Tough Friendly Audio Player
A jQuery audio player plugin that is responsive and touch-friendly. The UI is css-only, no images used.
Calendario: A Flexible Calendar Plugin
A jQuery calendar plugin for creating flexible calendars.

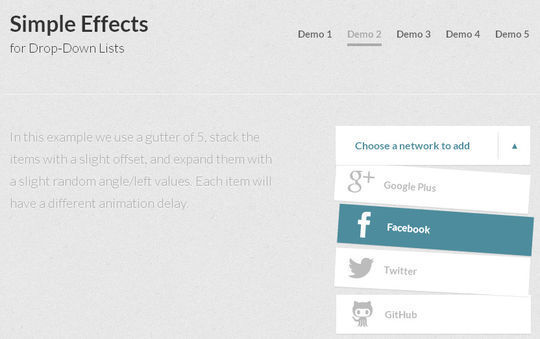
Simple Effects for Drop Down Lists
A jQuery plugin for transforming select inputs into drop-down lists with some simple expanding effects.
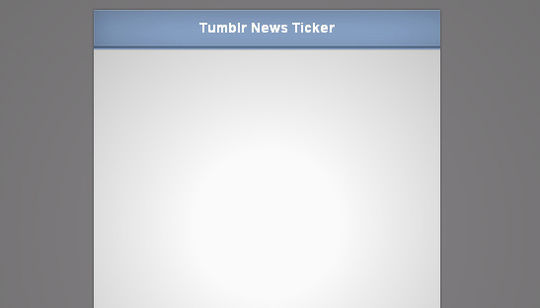
How to Make a Tumblr-powered News Ticker
In this tutorial, we are going to use it as the foundation of a news publishing system. We are going to develop a simple widget which cycles through the most recent posts on a Tumblr blog, and presents them as news items to your users. Adding news will be done by creating new blog posts in your Tumblr dashboard.
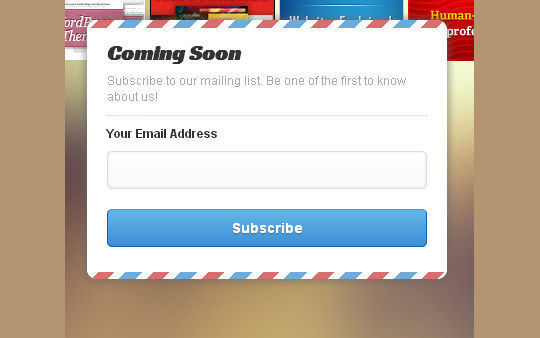
Create Attractive Coming Soon Template with CSS 3D and Javascript
We are going to make an attractive coming soon html template with CSS3, CSS 3D transform and jQuery. Let’s go a little wild with CSS3 even though some old browsers won’t support it. However, for CSS 3D transform part, we will make it degrades gracefully. Instead of the awesome 3D flipping effect, we will be substituted with just a simple hide and show effect.
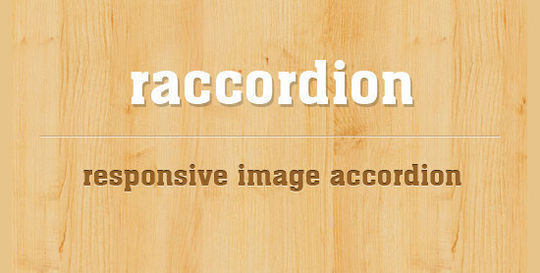
jQuery Responsive Horizontal Accordion Image Slider: Raccordion
This is a multi purpose responsive accordion image slider plugin raccordion. Its a horizontal image slider that adjusts according to the size of the browser width. raccordion slider adds variety and style.
3D Flipping Circle with CSS3 and jQuery
In this tutorial we will create a circle with a handle which will open once the little handle is clicked, creating a realistic 3D flipping effect with the help of CSS 3D transforms and shadows/gradients.
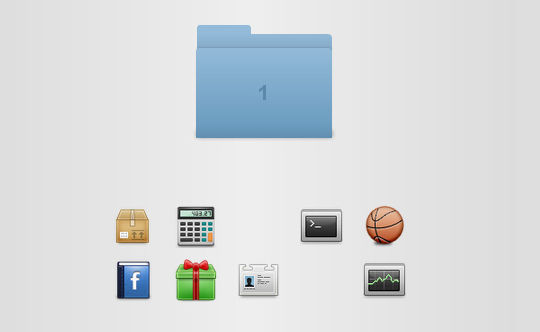
How to Make a Mac OSX-like Animated Folder with CSS3
In this short tutorial, we are going to make a OSX-like folder with CSS3, by utilizing 3D transforms, gradients and box shadows. In addition, we are going to use jQuery UI and its drag and drop interactions to build a pretty interactive demo.
Create a Beautiful Password Strength Meter
In this tutorial we will be creating a beautiful password strength indicator. It will determine the complexity of a password and move a meter accordingly with the help of the new Complexify jQuery plugin.

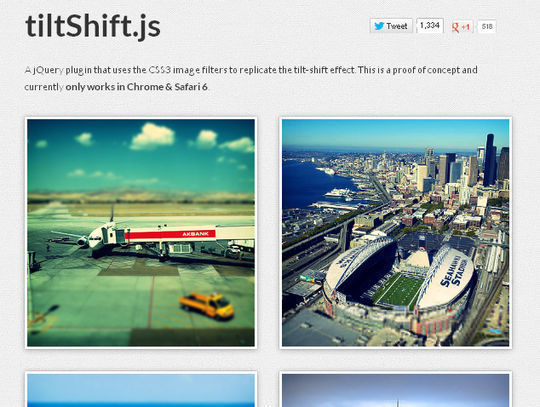
A jQuery plugin that uses the CSS3 image filters to replicate the tilt-shift effect. This is a proof of concept and currently only works in Chrome & Safari 6.
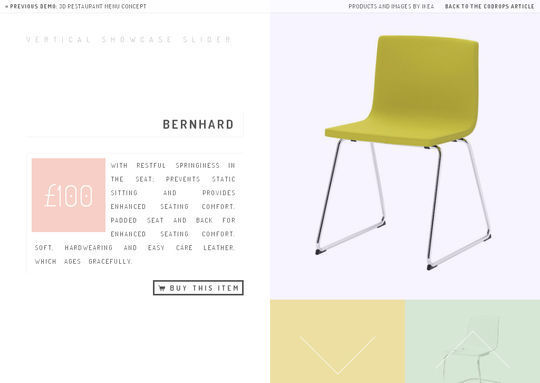
Vertical Showcase Slider with jQuery and CSS Transition
A tutorial on how to create a responsive vertical fullscreen slider that moves its sections in opposite directions. We’ll be using jQuery, CSS Transitions and media queries to make the layout adaptive.
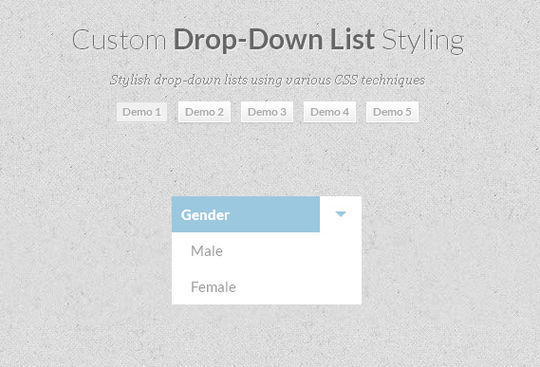
A tutorial on how to create some custom drop-down lists. We’ll show you five examples with different looking drop-down menus and lists for various purposes.
Creative Web Typography Styles
Let’s create some interesting web typography effects with several CSS techniques and the help of lettering.js.

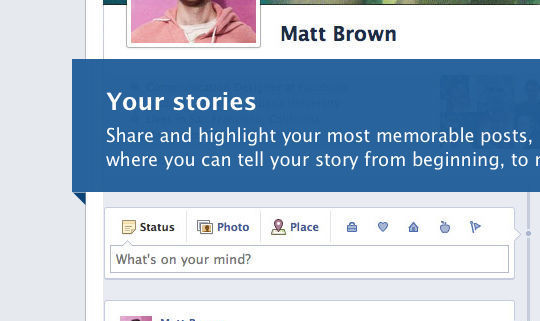
Live Album Previews with CSS3 and jQuery
Here we are going to make a script for previewing the contents of an album with a slideshow-like animation. This can be used in photo galleries, online shops, profile pages and more. The example is inspired by Facebook, where you hover over an album and get a slideshow of some of the photos contained inside it.
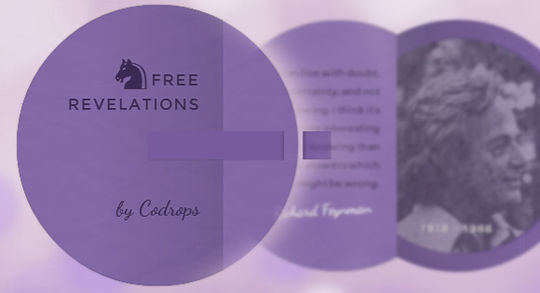
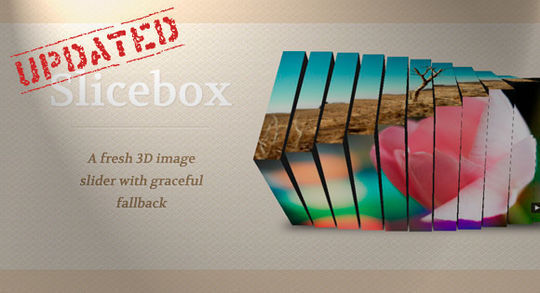
Slicebox, the jQuery 3D image slider plugin, has been updated. We’ve done some major improvements and added new features.
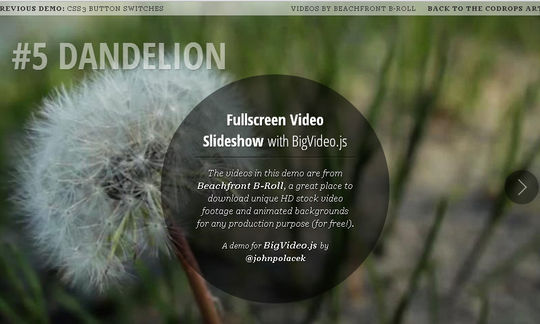
Fullscreen Video Slideshow with Bigvideo.jg
A tutorial about how to create a slideshow-like fullscreen video background using BigVideo.js, a jQuery plugin for big background video.
A tutorial on how to create a fullscreen pageflip layout using BookBlock. The idea is to flip the content like book pages and access the pages via a sidebar menu that will slide out from the left.

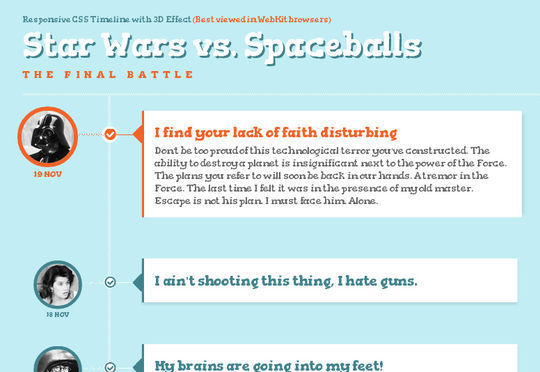
Responsive CSS Timelinge with 3D Effect
A tutorial about how to create an experimental CSS-only timeline with a 3D effect. The idea is to expand a content area when the associated radio input is selected.
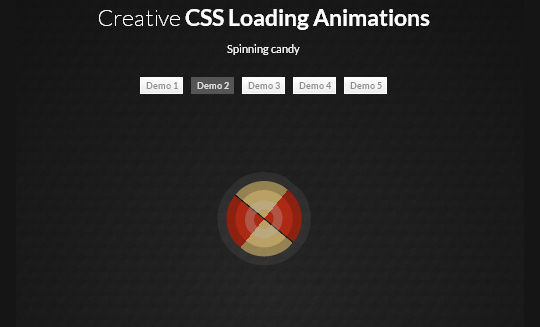
Creative CSS Loading Animations
In this tutorial we’ll show you how to make some creative css-only loading animations also known as activity indicators.
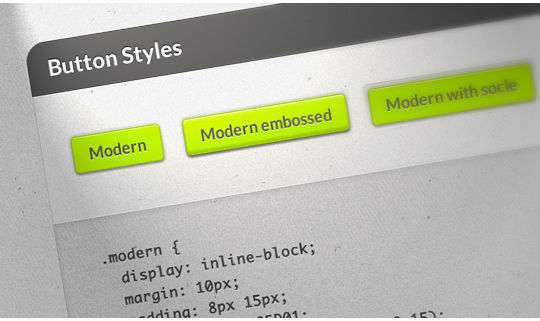
This is a collection of some basic styles that can come in handy when creating your own style definitions. Learn how to make some useful classes for simple styles and how to apply them to a variety of elements.
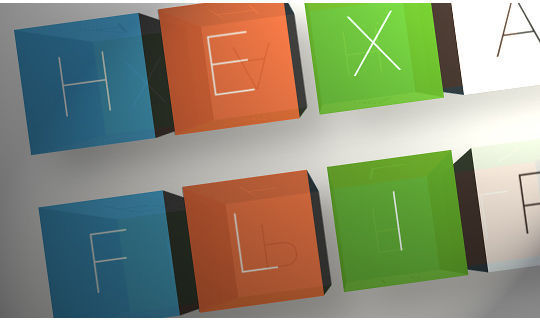
Hexaflip: A Flexible 3D Cube Plugin
HexaFlip is a JavaScript UI plugin that let’s you use 3D cubes as interface elements. Dive into the process of creating the plugin and learn some best practices regarding flexible UI plugins.
In this tutorial, we are going to build an animated photo stack, which will use all kinds of fancy effects to transition between a set of images. The effects are implemented purely using CSS3, which means that they run smoothly on modern browsers and mobile devices. We will also make the photo stack advance automatically, so you can use it as a slideshow.

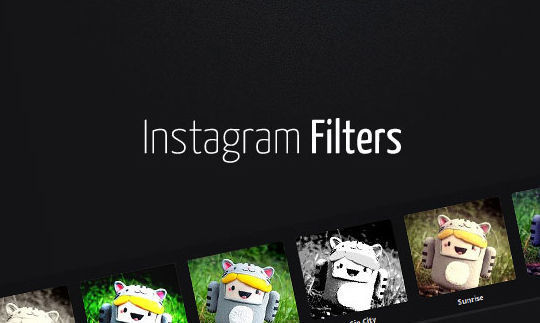
Make a Web App with Instagram-like Filters
In this tutorial, we are going to make a simple web app that allows you to drag a photo from your computer into the browser window, and apply instagram-like filters on it.
Dropbox File Uploader With Twitter Bootstrap
Here we are going to use this feature to create a simple application that allows people to attach a photo from their Dropbox account, crop an area with the Jcrop plugin, and download the result. Additionally, we will make use of Twitter Bootstrap to show dialog windows, and PHP on the backend for the actual photo cropping.

How to grab Dribbble feed with jQuery and CSS3
As a web developer, third party API integration is something you will have to face. Especially with the current trend, we have facebook, twitter, flickr etc. Today, we are going to look at dribbble’s API. Dribbble is a place to show off your design, it’s based on invitation basis, therefore, most designs are of high quality.
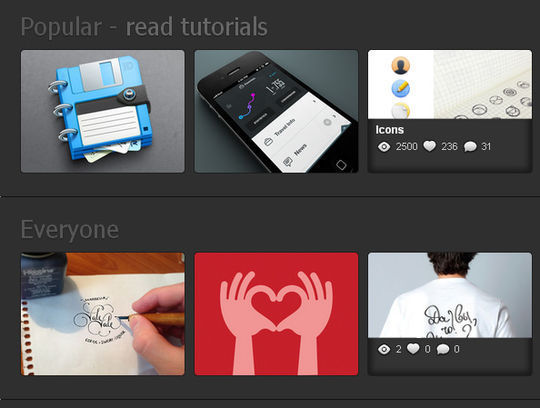
Photo Booth Strips with Lightbox
A tutorial about how to create some neat scrollable photo booth strips and integrate Lightbox 2 and customize it in order to make it responsive and touch-device friendly.

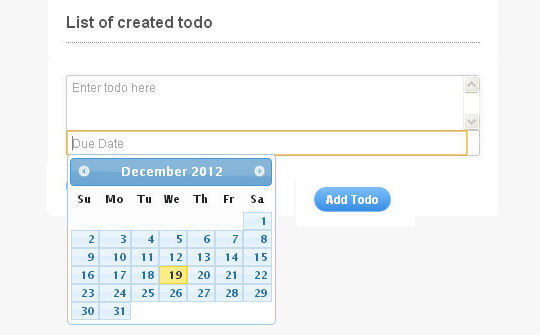
How to Build a ToDo Application with Web SQL and jQuery
This tutorial will take you through the step by step development of building a ToDo App entirely powered by Web SQL. You will learn about getting started with Web SQL, understanding transactions, following best practices and how to write re-usable functions.
'프로그래밍 > Script' 카테고리의 다른 글
| [javascript] Progression.js: Create friendlier forms (0) | 2013.08.21 |
|---|---|
| [jQuery] 20 Fresh jQuery Plugins (0) | 2013.08.20 |
| [jQuery] Best jQuery Plugins of the Week [3rd August-9th August] (0) | 2013.08.16 |
| [javascript] Mean: A scalable JavaScript boilerplate (0) | 2013.08.16 |
| [jQuery] 15 Responsive jQuery Navigation Plugins (0) | 2013.08.14 |

